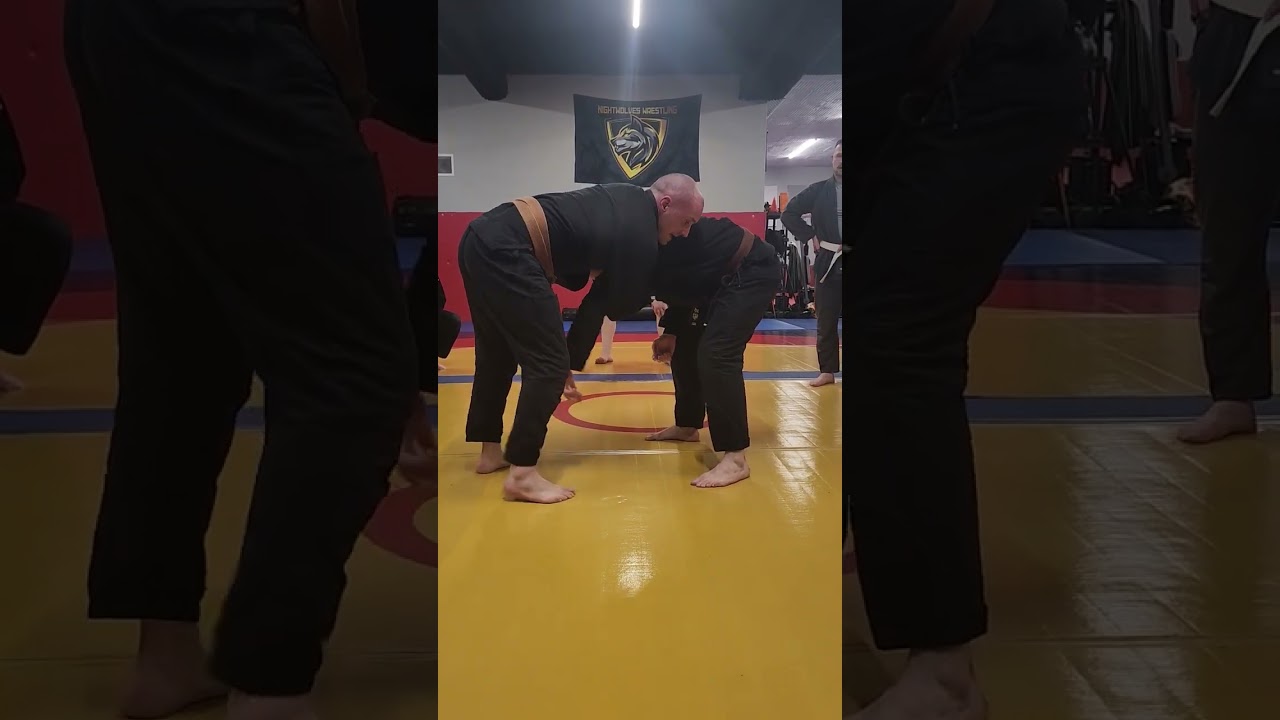
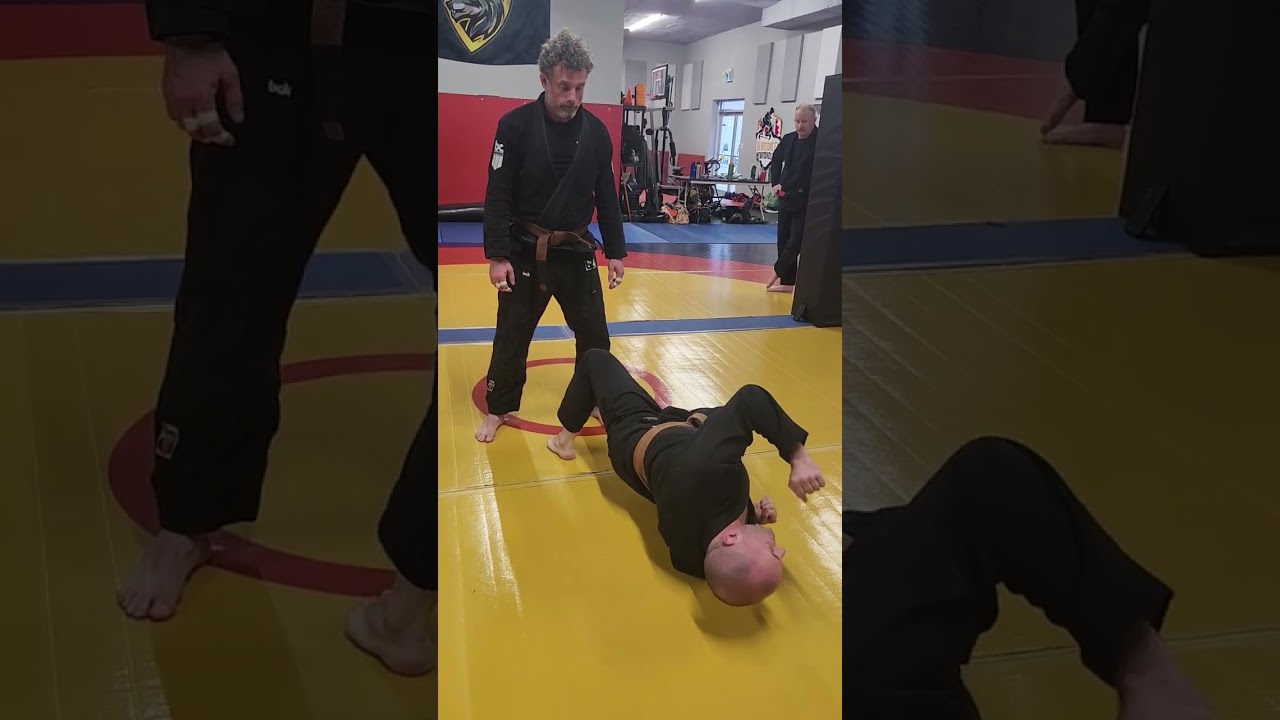
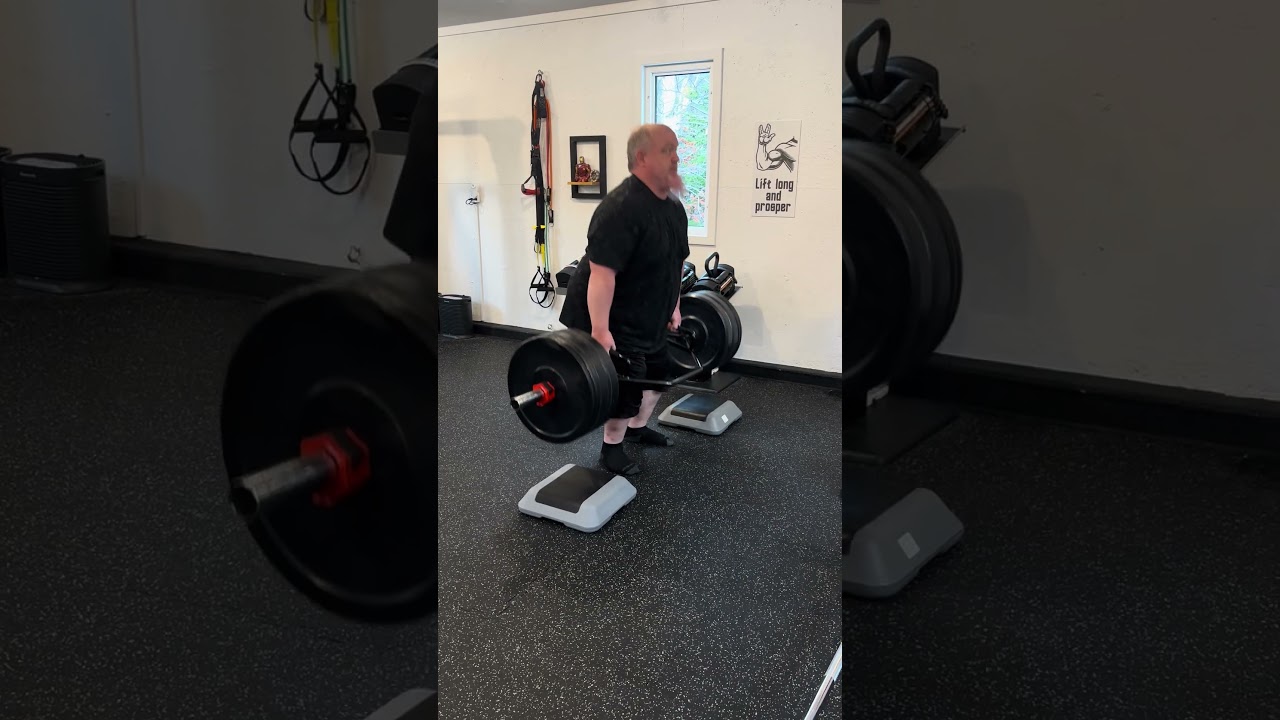
September 7, 2018October 1, 2023 Michael McIsaac, MS, MS, CSCS 0 Comments 6views You may also like 00:08 4. Bouncing Jump (Front View) 1views Linear - Option 4 00:10 4. Bouncing Jump (Side View) 1views Linear - Option 4 00:06 5. Continuous Jump (Front View) 1views Linear - Option 4 00:06 5. Continuous Jump (Side View) 1views Linear - Option 4 00:27 Client: Stephen Williams Trap Bar Deadlift (300 lbs) Personal Best!! 3views Exercise 00:10 Takedown (Brazilian Jiu Jitsu) 4views Exercise 00:51 The Lateral Drop (Brazilian Jiu Jitsu) 13views Exercise 00:30 Client (Stephen Williams) Personal Best on the Trap Bar Deadlift (265 lbs) 4views Exercise 00:20 Supine One Arm Cable Row (Side View) 7views 6. Strength 00:20 Three Point Row (135 lbs…Personal Best) 6views Exercise «1234567…100»Page 2 of 100